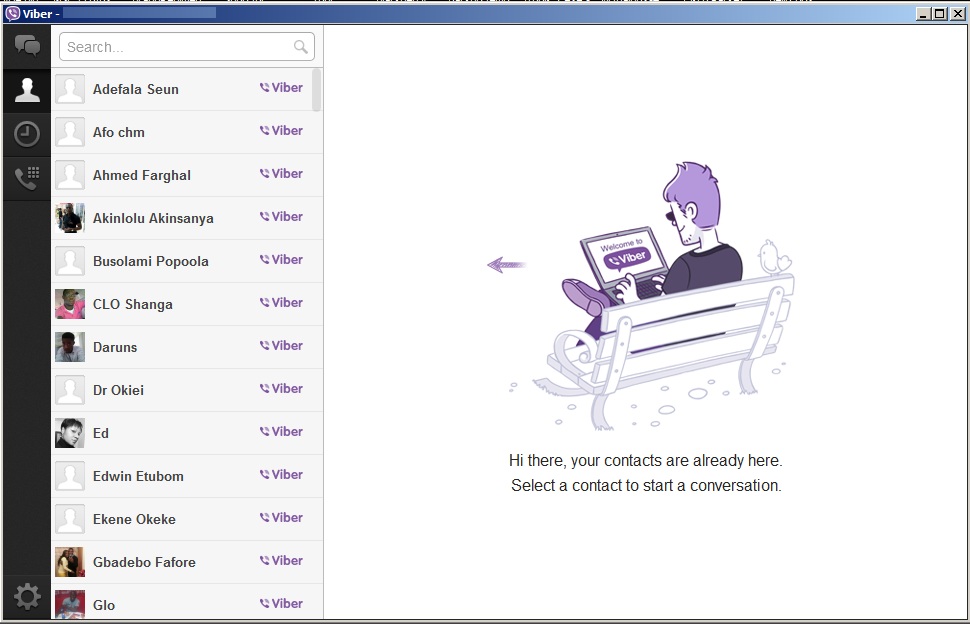
Installing Viber on Windows and MacOS computer is pretty very easy and straight forward much like the mobile versions on Android, iOS and Windows Phone.
I would not be wrong to say that Viber needs little or no introduction at all owing to its huge success and popularity and have taken over other VoIP apps by storm and currently giving Skype a good competition.
Just as Skype is available for PC and mobile devices for all platforms, so also is Viber available cross platform on all PC and mobile devices and allows you to send free text messages and calls to other Viber users.
However, unlike Skype which you need to register with your email and a password,Viber do not require an email registration; just your phone number is needed.
When installed you have all your contacts The procedure for getting and setting up Viber for PC is as detailed below.
Requirements
Windows and MacOS computers
Procedures
1. Download Viber by clicking on Get Viber from the website
2. After downloading, run the installation file and click Accept & Install.
3. This would launch another window and full installation files would be further downloaded
4. Once the downloading is complete, it will start installation and then complete
5. You would presented with a welcome screen and insert your mobile number you use your viber with on any of your smartphones.
6. An activation code would be sent to that number which you would then input in the screen as shown below.
7. Immediately, all your contacts on your smartphone Viber will show up and then you can select and start chatting or calling as you desire.
Finally, the Viber icon will show up on your desktop and you can start using it immediately.
If you find it helpful, drop your comments below


0 comments:
Post a Comment